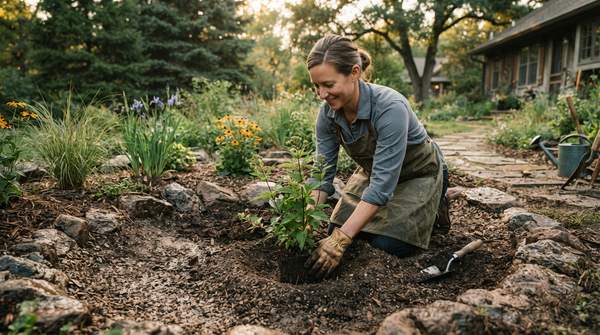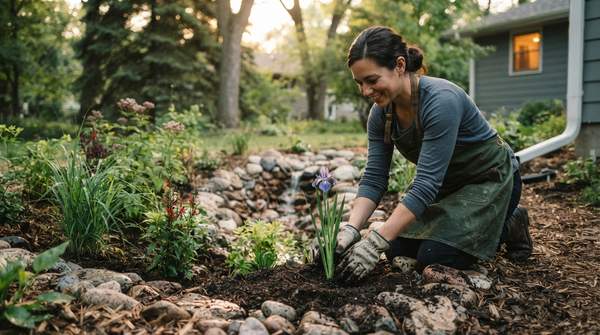
A rain garden is a shallow, planted depression that captures stormwater runoff from your roof and driveway and lets it soak into the ground instead of flowing off your property. Building one is a weekend-scale project, but success depends on three decisions made before you ever lift a shovel: where to put it, how big to make it, and what to plant in it. Here is a consolidated workflow, synthesized from municipal, conservation, and university extension guidance, that walks through each of those decisions in order.
Step 1: Selecting the Ideal Location for Your Rain Garden
Location is the make-or-break decision. Guidance from the Texas Master Naturalists' Coastal Prairie Chapter recommends choosing a spot at least 10 feet from your home's foundation, where water naturally collects or can be directed, with well-draining soil and full to partial sun. Other extension guidance places the minimum foundation distance in a 5-to-10-foot range, so the safest rule is to stay at least 10 feet from the house and from any underground utilities.
Slope matters too. The University of Nebraska Extension advises that if the slope at a candidate site is greater than 12 percent, you should select a different site, because steep slopes make construction difficult and can compromise the garden's ability to hold water. Oklahoma State University Extension likewise says to avoid steep slopes entirely.
Finally, test the soil's drainage. The Town of McCandless, Pennsylvania's municipal guide recommends digging a hole about one foot deep and watching for three warning signs of impermeable soil: the site ponds or stays saturated for several days after a storm; the soil shows wetland characteristics (often gray, with brown ribbons) within a foot of the surface; or water you pour into the hole is still there after two days without rain. Any of these signs means you need a different location.
Rain Garden Site Selection Checklist
Work through this checklist for any candidate spot. If every criterion passes, you have a go; if any one fails, reject the site or plan amendments and an underdrain before proceeding.
| Criterion | Requirement | How to Check | Result |
|---|---|---|---|
| Distance from foundation | At least 10 feet from the house (guidance ranges from 5 to 10 feet) | Measure from the foundation to the proposed garden edge | Pass / No-go |
| Underground utilities | At least 10 feet from any buried utility lines | Have utilities marked before digging | Pass / No-go |
| Slope | Flat or gently sloping; no slope greater than 12 percent | Measure the drop across the site with a level and tape | Pass / No-go |
| Soil percolation | Water drains within two days; no wetland soil within one foot of the surface | Dig a one-foot hole, pour in water, and re-check after two dry days | Pass / No-go |
| Sun and water flow | Full to partial sun, where runoff naturally collects or can be directed | Observe where water travels during a rain | Pass / No-go |
A site that passes all five rows is a genuine go. A site that fails only the percolation test can sometimes be rescued with soil amendments or an underdrain, but a site that fails the foundation, utility, or slope tests should simply be abandoned in favor of a better location.
Step 2: Calculating the Right Size for Your Rain Garden
Your garden's size is dictated by the impervious surface—roof, driveway, and other hardscape—that drains into it. Oklahoma State University Extension offers a quick rule of thumb: multiply the impervious area by 5 to 10 percent. For a more precise number, use a volume calculation like the worked example published by the San Antonio River Authority.
Imagine a house with a 60-by-30-foot roof, where one downspout serves a quarter of the roof, plus a paved driveway that drains to the same spot. McCandless's guidance describes combining the roof area feeding the downspouts with the driveway's surface area to get the total impermeable drainage area.
- Roof drainage area: 60 ft × 30 ft = 1,800 sq ft; one quarter of the roof = 1,800 ÷ 4 = 450 sq ft.
- Add the driveway: add its square footage to the 450 sq ft roof figure to get the total impermeable drainage area.
- Calculate runoff volume for a 1.5-inch storm: 1.5 inches = 0.125 feet; 450 sq ft × 0.125 ft = 56.25 cubic feet.
- Divide by garden depth: for a 6-inch (0.5 ft) deep garden, 56.25 ÷ 0.5 = 112.5 square feet of garden.
So this roof section alone calls for a garden of roughly 112.5 square feet—about 10 by 11 feet—before you add the driveway's contribution. Nebraska Extension adds a useful design note: keep the length-to-width ratio at least 2:1, with the long dimension running perpendicular to the incoming water to maximize how much the garden can hold. Curved shapes such as crescents, ovals, and kidneys tend to look better in residential landscapes than rectangles.
Step 3: Preparing the Site and Soil
Once the location and size are settled, mark the outline with a long string or white spray paint, planning where runoff will enter and where excess can spill out, as Oklahoma State's fact sheet directs. Dig the basin 6 to 8 inches deep—no deeper, because deeper standing water attracts mosquitoes—and use the excavated soil to build an overflow berm that controls ponding height.
If your percolation test showed an infiltration rate under 0.5 inches per hour, amend the soil. Princeton Hydro's step-by-step build illustrates one approach: order sand for the project (their example used 3 tons, but the quantity is site-specific), then add leaf compost at about 4 pounds per square foot on top of the sand and hand-till the mix to a depth of 12 inches with a shovel.
Step 4: Choosing the Right Plants for Your Rain Garden
A rain garden is a wet-then-dry environment, and plant selection should follow its moisture zones. The lowest point of the basin stays wettest, so it needs water-tolerant plants; the sloped sides experience alternating wet and dry; and the upper edges and berm dry out fastest and need drought-tolerant species. Oklahoma State's guidance is simple: plant the most drought-tolerant species at the highest part of the basin.
Native perennials are the preferred choice across the sources. Princeton Hydro calls native wetland or wet-tolerant plants that can also withstand drought "the key to success," and recommends hardy perennial species with well-established root systems. The Texas Master Naturalists note that native plants create a low-maintenance garden that supports local ecosystems, and the University of New Hampshire Extension adds that choosing plants with early, middle, and late-season blooms provides visual interest and supports pollinators throughout the season. Check your USDA Plant Hardiness Zone before buying so your choices can survive your winters.
Step 5: Planting and Ongoing Maintenance
Plant according to the zone plan, spacing perennials so their mature root systems have room, and water new plantings until they establish. In the first seasons, the main tasks are weeding, keeping the inflow and overflow points clear of debris, and watching that water drains within two days after storms—if it doesn't, the soil may need further amendment. Because native perennials are adapted to local conditions, the garden's maintenance needs generally decline as the plants mature.
One caution applies before you dig: this guide covers homeowner-installed residential rain gardens only. Local permitting requirements vary by municipality, and sites over sensitive areas such as aquifer recharge zones may carry special requirements, so check with your local municipality before starting.
Your Thriving Rain Garden: A Sustainable Landscape Choice
By carefully following the steps for site selection, accurate sizing, and appropriate plant choice, homeowners can successfully install a rain garden that effectively manages stormwater runoff and enhances their property's aesthetics. The payoff is measurable: after rainfall events, your rain garden should capture and infiltrate stormwater rather than shedding it, and its native plants should show healthy growth through the seasons. If water still pools for more than two days after a storm, revisit the soil amendments—otherwise, sit back and enjoy a garden that works as hard as it looks.